


Woo, hello 2018! With last year behind but still fresh in our minds, it’s the perfect time to do a little brand review and see how things went in 2017.
Why spend time on this? Well, for one, your brand is what brings in the dolla billz, so you want to make sure you haven’t strayed too far from your Brand Style and Guidelines.
Need a refresher on setting up your Brand Style Guide? Check out our post here: Create Your Brand Style Guide.
You work so hard to create content that your followers love, so you should see what worked, what didn’t, and make a plan to keep your brand in check.
Secondly, by taking the time to review your brand, you can see what content is resonating with your customers so you know where to put your focus moving forward in 2018 for maximum results and engagement!

We suggest you do a Brand Review at least once per year to stay on track of everything. The beginning of a new year is a perfect time to do this!
If you put out a lot of content and do so consistently, you may want to do a review every six months to ensure you are keeping it on the steady and not straying too far off base.
But where do you start? Since this is a fun process and we don’t want to overwhelm you with too many steps, we kept our Brand Review tips short and sweet.
Below are 3 steps to collect, review, and plan out where your brand has been and where you want to go with it.
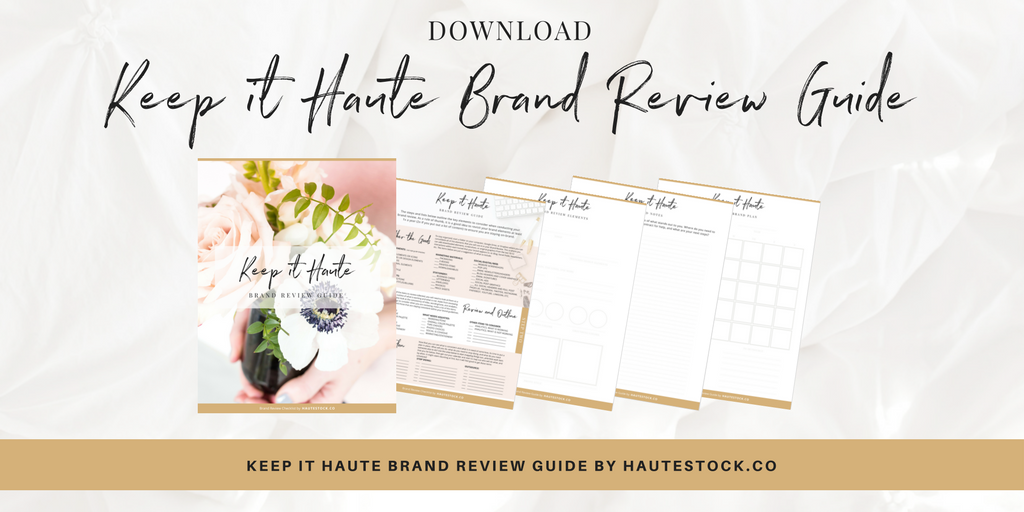
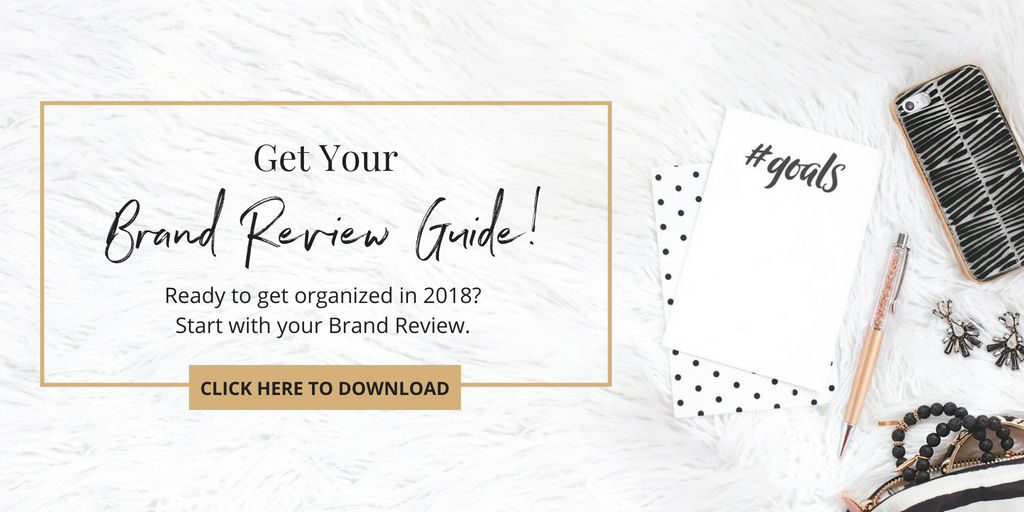
But first, be sure to download our Brand Element Checklist for an easy way to follow along with the steps below. You can also watch our Haute Stock Video Review as an example on how to do a brand review.
Let’s get started!
Step One / Gather the Goods!
Before you begin, you will need to get organized, so start a folder on your computer, in Google Drive or on Dropbox, where you can consolidate all of the elements that you will use in your Brand Review.
This is where you can add downloaded elements, screenshots, or original graphics from the last 10-12 interactions within each touchpoint that your brand appears in, ie: blog, social posts, newsletters, etc.
Tech Tip: We use Nimbus, (a Chrome extension), to save full length web pages, make screen captures and more. You can take regular screenshots, or other extensions to gather your content.
The items below are just a suggestion of what to include in your Brand Review:
BRAND ELEMENTS: (use our brand review toolkit to put all your info in one place)
-
logo
-
logo elements or icons
-
textures or design elements
-
typefaces
-
additional elements
-
colors
-
photo style
COPY ELEMENTS:
-
messaging/tone
-
headlines/titles/blurbs
MARKETING MATERIALS:
-
packaging
-
e-books
-
printed items
-
downloadables
STATIONERY:
-
business cards
-
letterhead
-
envelopes
-
invoices
-
price sheets
SOCIAL/DIGITAL/WEB:
-
website screenshots
-
pop-ups
-
email newsletters/headers
-
blog headers & cover graphics
-
email signatures
-
social ads
-
social media post graphics
-
all social headers and full post pages (i.e. Facebook, Twitter, Instagram, Pinterest, YouTube, LinkedIn, etc.)
Step Two / Review & Outline
Once you have all of the items to review collected, you’ll need to look at them as a whole and make an outline of what’s working and what’s not. Aside from reviewing visuals, including consistent color palettes, type choices, and images, you should also be aware of the consistency of titles, wording/tone, and analytics.
If something does NOT fit in, make note so you can return to it and see why it didn’t fit and if there is a way to avoid that issue in the future.
Be sure to take notes on what you’re seeing so you have an idea of what direction you’ve been heading in. You’ll also see the gaps in your brand at this point. Ask yourself, do you have consistent wording and tone, but not consistent visuals? Are your typefaces on point, but your color palette needs to be refined?
Address these questions before moving to the next step so you have a gauge of what work that is needed. We included a blank note sheet in our Brand Review Toolkit so you can have everything in once place.
Tech Tip: If you are using Facebook Pages, Instagram for Business, or any other social platform that includes business tools, be sure to check the analytics on your posts so you can see what the most popular and least “liked” posts for you have been. You’ll want to create more of these types of posts in 2018!
There are a lot of other ways to look at analytics, like Google Analytics for your website and blog entries and most CRM’s or Email Marketing Platforms like MailChimp have analytics for your newsletters, etc.
Design Tip: Create several design templates for your social posts so that you have a specific set to choose from, and that all well work together. That way you don’t have to reinvent the wheel every time you set up a new graphic.
Step Three / Master Plan
Now that you can see what’s consistent and what’s in need of some love, it’s time to put a plan in place. What will you do, what do you need to stop doing, and what do you need someone else to do?
Use the space on your Brand Review Guide to start mapping things out — prioritize each item that you list below, then get out your calendar and start to map out who will do what, and when. It might seem daunting at first, but it will feel good to get these items scheduled!
Fun Tip: Color code the To Do’s as one color, and the Outsource items as another color, so you can see who should do what and when on your calendar.
So there you have it, your Haute Brand Review! Remember, this is just a starter guide. Feel free to adjust, as needed, to align properly with your brand and brand offerings.
As always, we want to hear from you! What did you learn from your Brand Review? Be sure to tag us at #hautestockco.
Don’t forget to download our Brand Element Checklist for an easy way to follow along with the steps above, and also check out our Haute Stock Video Review as an example.

This post was written by Leanna Weller Smith: Executive Creative Director, Weller Smith Design & Design Expert, Haute Stock.