

Last week we introduced you to 10 Graphics You Need for Your Next Promotion, sharing a variety of graphics that could be used to highlight and compliment any campaign. This week, we are breaking down some of that information into simple and manageable steps, providing you with the tools to create your own marketing collateral.
So where do we begin? One of our favorite opt-ins that we like to share with prospective clients is a downloadable ‘Checklist/Worksheet’ (example graphics below). We find that using this particular piece of collateral often helps increase audience engagement and drive traffic back to your blog/website, both of which are important when promoting your own business.
This tactic also provides prospective clients with a glimpse into the types of services you offer, giving them the chance to get to know you, your business and the valuable resources/materials you offer.
Before we get started, here are a few things to consider:
1. How are you going to create this opt-in? We used Canva for this example, but you could use InDesign, Illustrator, Word or any other layout program that you are most comfortable with.
2. What type of content do you want to include? Will it provide a specific value to your customer? Are you using this checklist or worksheet to help your audience map out a type of process, help them with a specific task or as a continued point of reference?
3. Once you have determined what you will be talking about, map it out on paper so you know where you want your headlines, body copy, section titles and where you want to include checkboxes, lines or boxes for filling in content, etc. A blank page is always an intimidating place to start, so the more prepared you are before you begin, the easier it will be to start putting things together on your page.
4. Now that you know what you’d like to include in your checklist/worksheet, it’s time to get started by opening your layout program. The first thing you will need to do is to determine your page size. In the U.S., Letter (A4) is the paper size used most, however, across Canada and other countries, A6 is the preferred size. Choose what will work best for you and your audience and then you can determine if you prefer a vertical or horizontal format.
5. After you’ve created your page, you can begin adding elements from your layout sketch.
To make this a little easier, let’s take a look at the different elements we included in our example and review a few tips to keep in mind when creating a unique and engaging resource for your audience.
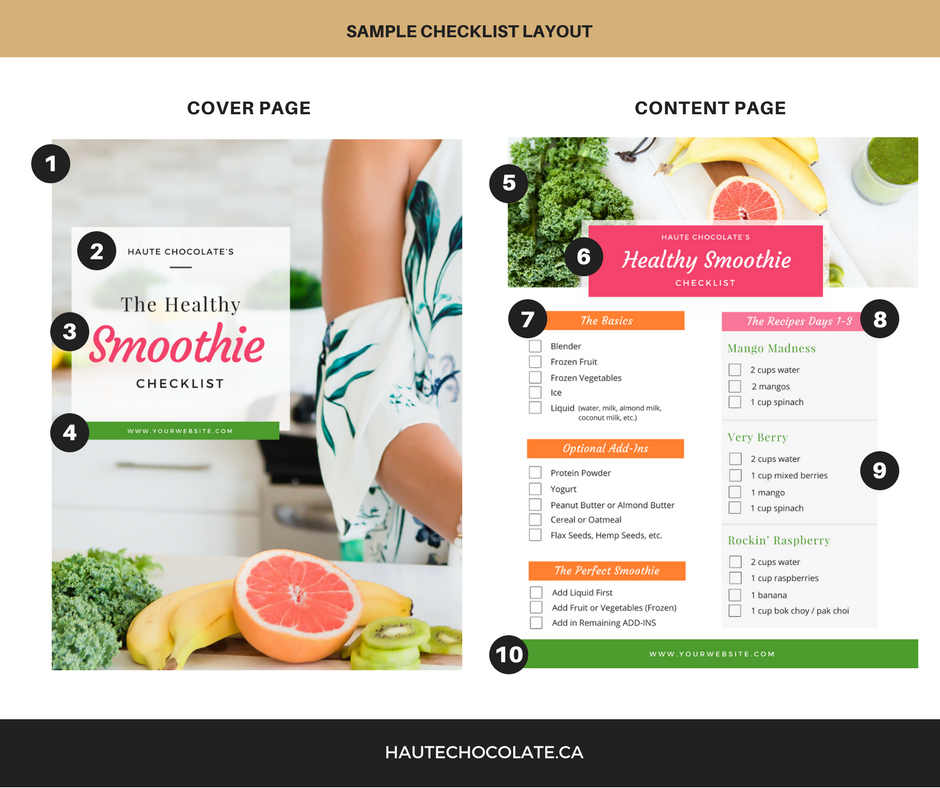
Follow the steps to learn how each element of our cover page and checklist were created. Images used in the following examples are from Haute Stock’s new Nutrition collection, released in July.
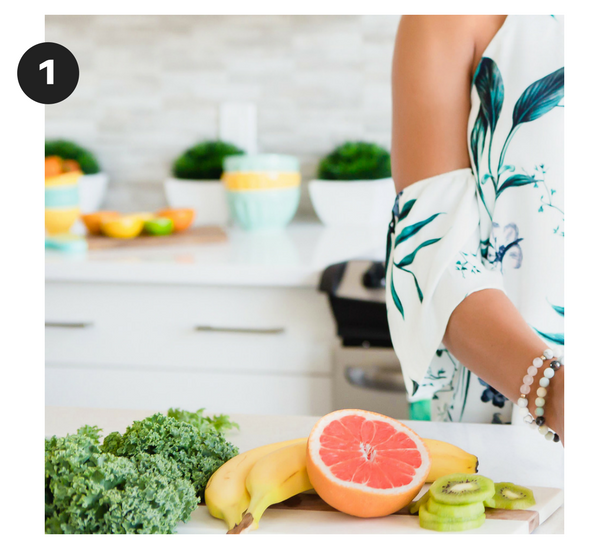
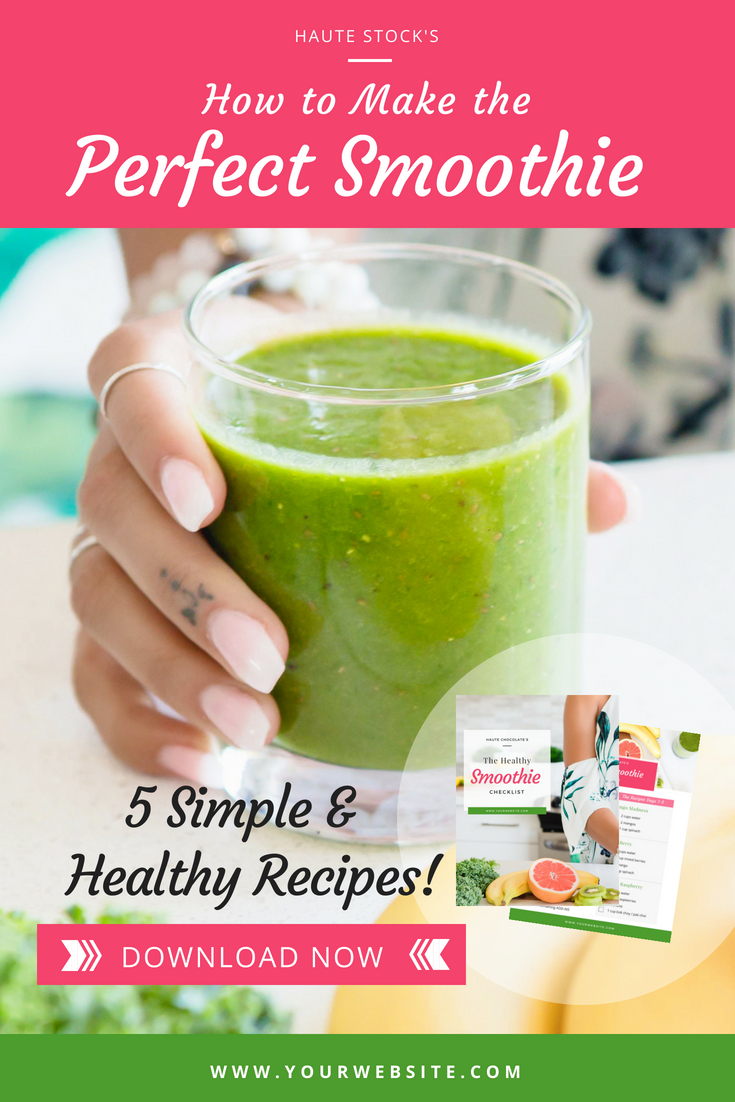
1 / cover graphic
We like to start with a cover graphic — this gives you the ability to stack your layout so you have a cover and then a peak of the worksheet or checklist below it. This allows your audience to see what’s to come without showing them the actual content of your download. If they want the whole document, they’ll have to engage and actually download it, which is what you want to happen.
Design Tip: Make sure you pick an image for the cover that has space to be able to insert a color block for the title and isn’t too busy in the background, allowing the user to easily read the title.
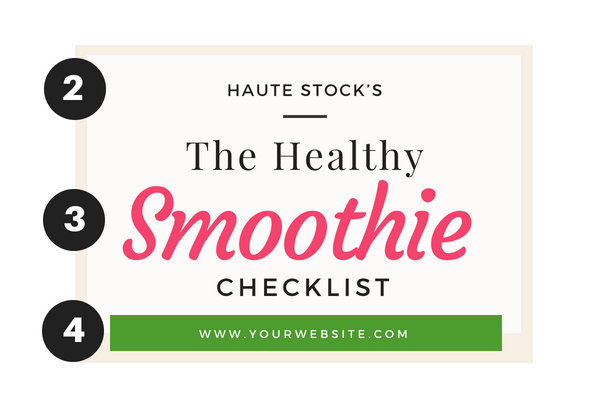
2 / color block
Once we picked our photo and placed it in Canva, we added a color block in the area where we wanted to add our company name. We made this color block a little bit transparent so that you could still see some of the image in behind. Experiment with transparency to see what effects you like best.
Design Tip: Your company’s name should be clearly visible on the cover page so your user knows YOU created the download.
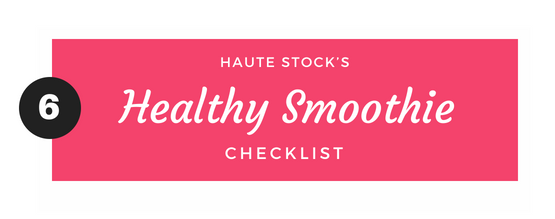
3 / title
Make sure the title you use for your checklist/worksheet is relevant and enticing. It should resonate with your audience and really make them want to get their hands on it.
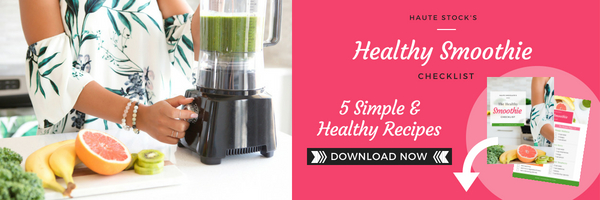
It’s also important that the title gives them a quick idea of what they will be receiving. In this example, we created a Healthy Smoothie Checklist that worked perfectly with Haute Stock’s Nutrition collection.
Design Tip: When placing the title on the color block make sure it’s bold and stands out. On the actual content page (checklist) we used pink to make it pop! Also make sure your title includes what type of download this is, whether it’s a checklist, workbook or another opt-in, so they know what they are receiving.
4 / link
At the bottom of our checklist, we added another color block where we placed the company URL. This can be a LIVE link, meaning a user can click on the URL and be taken directly to your website, video or wherever you choose to direct them. This makes it easier for the user and is a great way to engage and provide them with more content.
Design Tip: To create a PDF in Canva with LIVE links, first add your link into the Canva document, then when you go to download the PDF, make sure to select the file type “PDF Print”. Once you’ve done that, you can download the pages you want and the links you’ve included will remain LIVE.
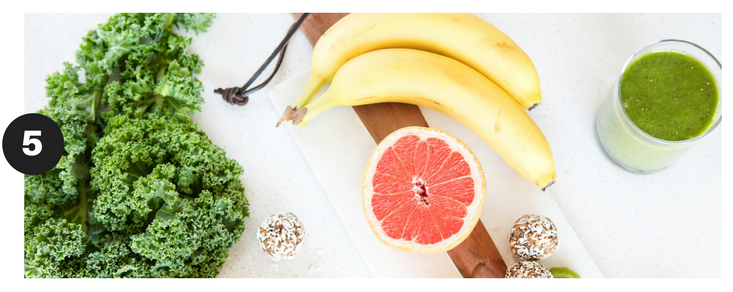
5 / checklist header image
On page two, which is the actual checklist, we chose another image from Haute Stock’s Nutrition collection. This photo fit in the space comfortably, allowing us to see the different items that resonated with the topic.
Design Tip: The image on top does not have to be very big, it can be smaller, depending on how much content you have and are including on your checklist or worksheet. Make sure the photo relates to the topic of your content.
6 / checklist title
Consistency is important, so we made sure to cut out a place for the document title and company name on the checklist as well.
Design Tip: You want your company name and title to be easy for the user to read, so they know what they are looking at and who it came from at a glance.
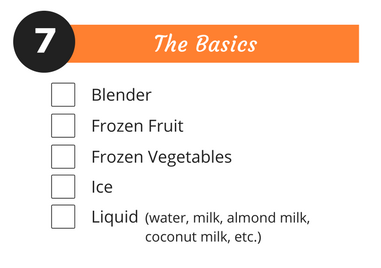
7 / checklist content
To create the checklist content, we broke down the elements of the document out into different sections. To do that we made color blocks with titles and positioned them on the page. We had already mapped out all the content we wanted to include, so we knew that the checklist needed to have the basics, optional add-ins and how to actually make that perfect smoothie.
Design Tip: Map out your content in advance so you can plan the design of your checklist or worksheet. Knowing this info ahead of time will make it easier for you when starting your design.
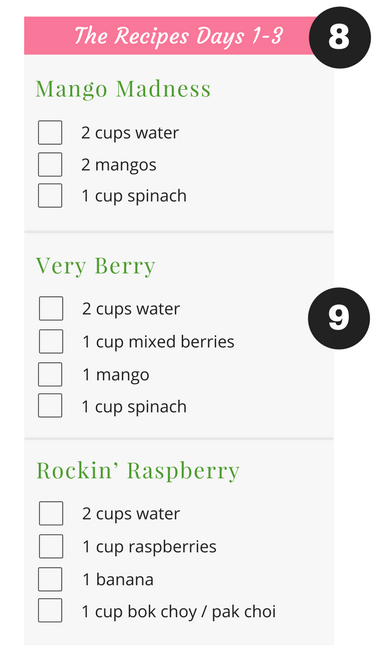
8, 9 / additional checklist content
To further the value of this checklist, we also included three days of smoothie recipes. We kept them simple and called them out with a color block and a color bar for the title.
Design Tip: Use color blocks to break up the space on the worksheet, or checklist and don’t forget to include titles of your sections. Use your brand colors to organize your section titles to stay on-brand. Do NOT use too many colors though, as that can get a little overwhelming for the reader.

10 / checklist link
Once again, you should always include your company website so the reader knows where the download came from.
Design Tip: Use a color block to make your website stands out. When downloading as a PDF, you can include a clickable LIVE link to enhance your user’s experience. Refer to Step 4 on how to add a LIVE link in Canva.
So, there you have it. We hope this post was helpful and provided some simple tips/ideas to get you started on creating your own beautiful checklist/worksheet!
Stay tuned, because next week we’re showing you exactly how to create a PDF checklist in Canva with an all new video tutorial!
If you want to get your hands on the images from our Nutrition Collection used in the graphics above (and over 2500 other stock photos), then become a Haute Stock Library Member now!

This post was written by LeAnna Weller Smith: Executive Creative Director, Weller Smith Design & Design Expert, Haute Stock.


Thank you for the great tips! I’m a Canva for Work user so this helps a lot.
We love using Canva for Work! Glad this could offer some inspiration for you Breshana!
Glad you found this useful, Breshana!
Thank you for these spot-on tips! I’m literally in the middle of designing templates and more and I really appreciate this design tips. I bookmarked this page so I can continue to come back to it. Love!
Perfect timing! Glad to hear you like the tips, would love to hear what helps you the most Maria when you work on your templates.
Thanks, LeAnna. I sure will. Thank you again for the great info.
So happy you’re finding the blog posts helpful, Maria! Good luck creating your graphics!
Thank you, Rachel. I’ll be honest and say that you are my inspiration and the reason I am even attempting this. 😉 I’ve watched you for the past few years now and could literally see the changes and growth in your work whether stock photos or emails. I saw your growth shine through and felt like I could actually do this. I just want to thank you for not letting anything stand in your way and going for it because it (you) gave me the courage to believe harder. 😉 Maria
Maria, thank you so much for your kind words!!! You just brightened by day! I’m glad to have helped you in that my own journey has given you the confidence and encouragement to move forward with yours! I’ve been inspired by how creative you are when using our images, as well 🙂 All my best to you!!
Wow, thank you so much! I’ve been wanting to make an opt-in, but didn’t know how. Everyone just said I could make one in Canva, but then didn’t give me any instructions. I bookmarked this so I can refer to it as I make my opt in.
Great to hear Brenda! Keep us posted when you start working on your Opt-in!
Hi Brenda, so glad to hear this post was helpful for you! Good luck with your opt-in 🙂
Such a great post! Just used it to update my opt-in and so happy with the results. Thank you!
So glad you liked it Patricia! Would love to see your before and after.
Woo, happy to hear that Patricia!
Thank you SO MUCH for this information! I love Canva but had never considered using it for this need! I’ve bookmarked this page so I can refer back to the information.